Specifications
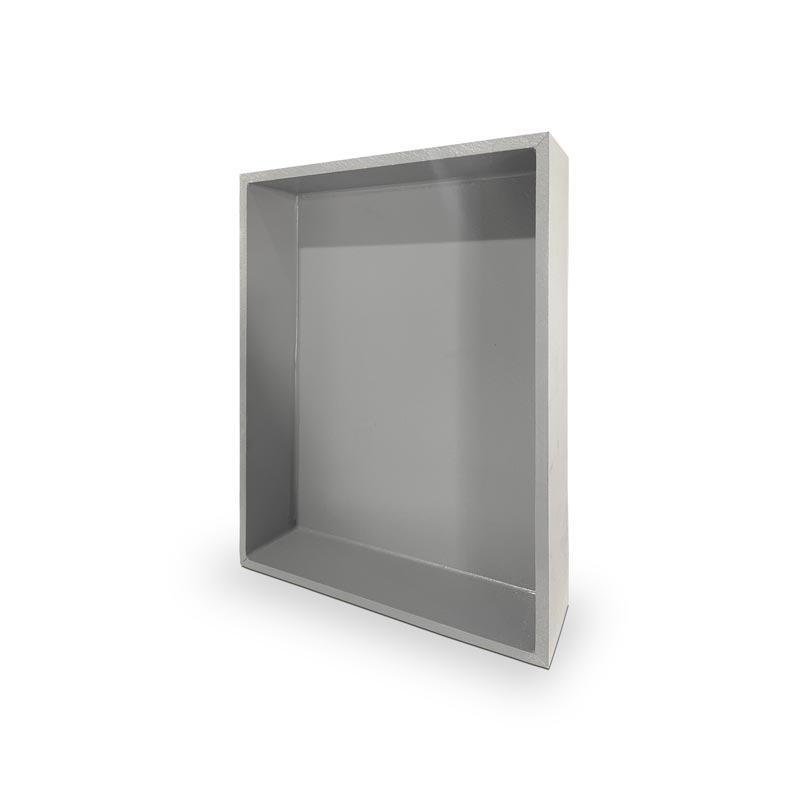
- Ready to tile, waterproof liquid membrane
- PVC foam niche is 1/2″ thick flangeless, matches perfectly with 1/2″ Compotite cement foam board.
- All niches are built to fit between 16″ on center frame construction
- PVC Niches can be customizable for any style and design
- Using a polyurethane adhesive/sealant to back of the flange and contact areas.
Installation Requirements
Get ready to breeze through niche installations with Compotite PVC shower niches. Here’s how:
-
Preparation: Begin by measuring and marking the desired location for the niche within the shower wall. Ensure the area is clear of obstructions and properly framed to support the niche.
-
Apply a polyurethane adhesive or mortar to the contact points of the niche and press it firmly into the framed space. Use a level to ensure the niche is properly aligned.
-
Allow the adhesive or mortar to set according to manufacturer instructions. Once set, secure the niche further by applying silicone sealant around the edges to prevent water penetration.
-
After the sealant has dried, proceed with tiling the surrounding area, ensuring seamless integration with the niche. Grout the tiles and wipe away any excess for a clean finish.
-
Once the grout has cured, apply a final bead of silicone sealant around the edges of the niche to ensure watertightness and durability.
With Compotite PVC shower niches, installation is a breeze, allowing you to achieve professional results with ease. Elevate your projects with confidence and efficiency—choose Compotite for superior quality and performance.