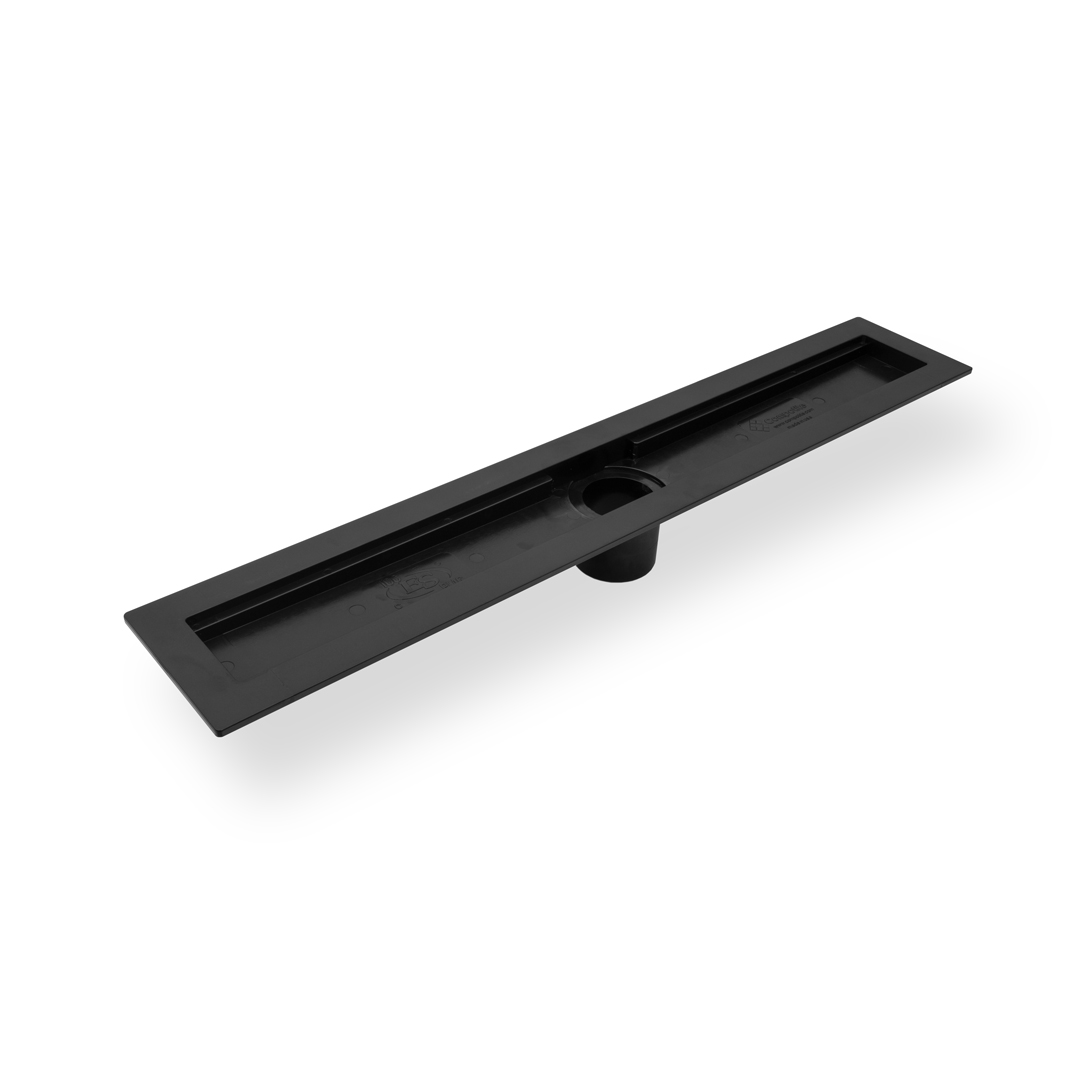
Specifications
- ABS impact resistant engineered thermoplastic
- Dimensions: 26″ long x 6.5″ wide
- Weight: .97 lbs
- Color: Black
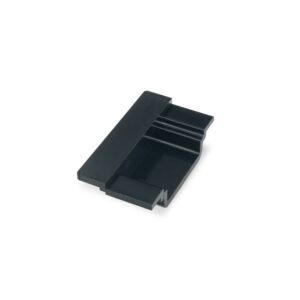
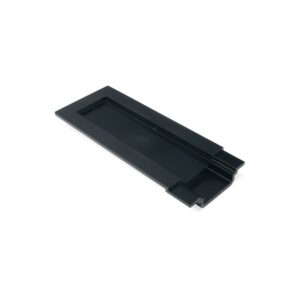
- Sloped internal body for efficient drainage
- 1″ textured flange
Installation Requirements
- Linear drains are most often placed against the end or side wall or shower threshold for streamlined look.
- Drain outlet can be trimmed to create the lowest possible profile.
- Any waterproofing layer should be supported by a pitched slope of 1/4” per foot towards the drain whether waterproof membrane coat is under thick bed mortar or on top.
- Reinforcing Fabric should always be used with Liquid Applied Membranes for gaps of more than 1/8”. It is recommended to use reinforcing fabric where the drain flange and mortar bed meet as well as for any floor to wall transitions for added durability.
- If installing a curbless shower, position drain parallel to entry (front, middle or back of shower) so plank pitch doesn’t compromise an even/level entry.
- If placing drain flush to walls – back and/or sides of flange should be set against the studs or sill plate (center of the 2“ waste pipe needs to be 2 1/4” out) and 1/2” backer board should be installed directly on top of flange.
- Consider tile thickness and thin-set to make any needed adjustments. Finished wall tile should sit approximately flush to 1/16” from inside of the drain cavity wall to allow for proper grate placement.
- Set floor tile on top of flange, flush to 1/16” from the edge of the grate to allow for smooth installation and removal of grate.
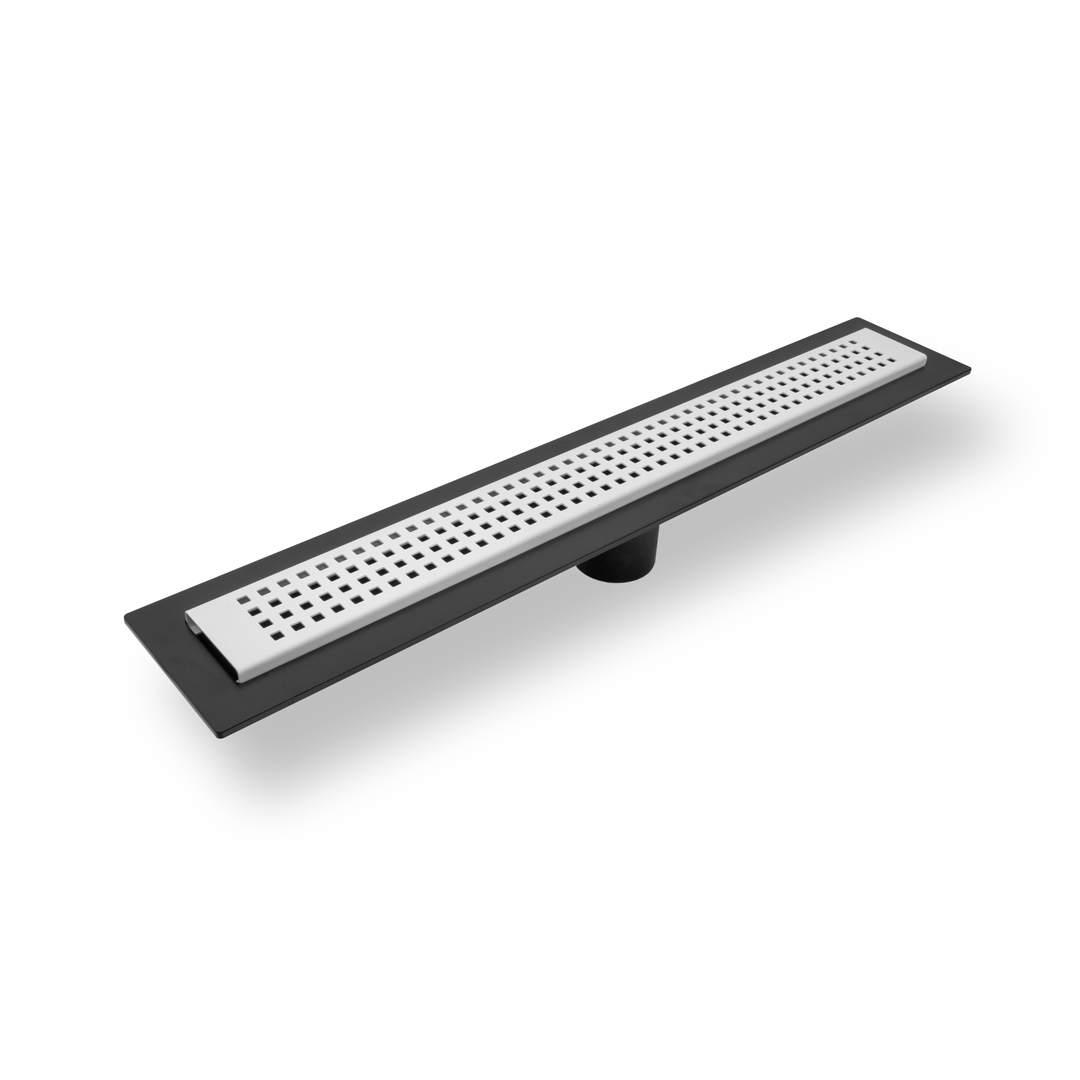
- Compotite Linear Drain Grate RisersTM (included with drain grates) can be used to install the grate at the proper height, flush to slightly below level of surface tile (approx. 1/16”) to ensure proper drainage.
Method 1 – Traditional Shower Pan Membrane (Unbonded) Waterproofing installed under thick-bed mortar using Composeal Blue or Grey Shower Pan Membrane or Composeal Aqua Shell Liquid Applied membrane. This method must be used with a traditional clamping ring type drain assembly with clear weep holes and is performed in exactly the same way as a traditional shower drain assembly. A 2” threaded coupling can be used to connect the linear drain body to the clamping ring or a threadless clamping ring can be used. Mortar should be packed under the linear drain body to support it level and in place.
Method 2 – Bonded Mortar Bed Installation Waterproofing is installed on top of the plank-pitched mortar bed and adhered directly to the top of the 1” textured bonding flange of the linear drain. Either a liquid applied membrane or a bonded sheet membrane (ANSI A118.10) can be used for this installation type. When using liquid waterproofing membrane it is recommended to use reinforcing fabric where the drain flange and mortar bed meet for the most durable installation. In this method the 2” outlet from the linear drain is attached to the waste line using a 2” coupling according to plumbing industry standards. Mortar should be packed under the linear drain body to support it level and in place. Apply liquid or sheet membrane to the flange, mortar bed and shower system according to manufacturers instructions.
Using Installation Methods 1 & 2 together for added security. Many industry professionals are using both a traditional primary shower pan and surface level waterproofing together for double protection and peace of mind. Waterproofing the entire shower enclosure may also help provide a worry free install.