Specifications
- Meets ANSI 118.10 Requirements
- Strong & Lightweight – Easy to Handle & Install
- Constructed of Lightweight High-Density Polystyrene
- Interior & Exterior Applications
- Can also be Used in Kitchens, Hallways, & Other Living
Installation Requirements
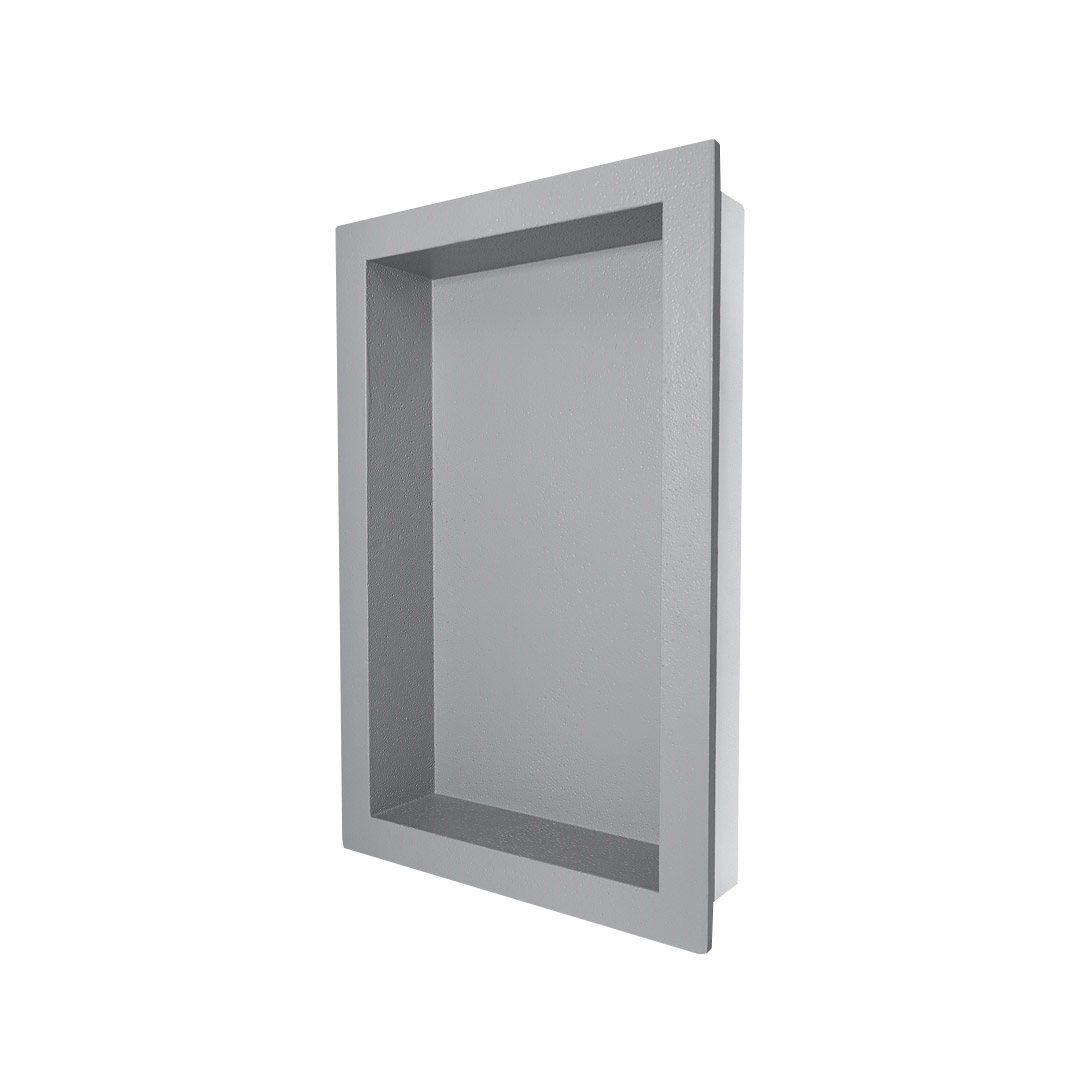
Naked Niche Installation
Must be installed using Liquid Applied Waterproofing Membrane. Compotite Preformed Naked Niches are easy to install. In general, they need to be secured in place and waterproofed with a liquid applied waterproofing membrane meeting ANSI 118.10 standards.
- The niches are designed to fit between studs that are 16” on center. Cross bracing can optionally be used above and below the niche to support it in place.
- Use polyurethane caulk, silicone or liquid applied waterproofing membrane to adhere the niche to the studs.
- Install 1/2” backer boards so they butt up flush to the flange of the niche.
- Once in place the niche can be waterproofed using Composeal Aqua Shell line of liquid applied waterproofing membrane or similar.
- Use at least a 4” strip of Composeal Reinforcing Fabric embedded into the liquid membrane if the seams between the backer board and the niche are wider than 1/8”.
- Make sure you apply two liberal coats of Liquid Applied Membrane according to manufacturers instructions.
- Allow membrane to dry before installing your tile.
Ideally, you will waterproof the entire shower enclosure using a Liquid Applied Waterproofing Membrane to ensure maximum protection from secondary water damage.